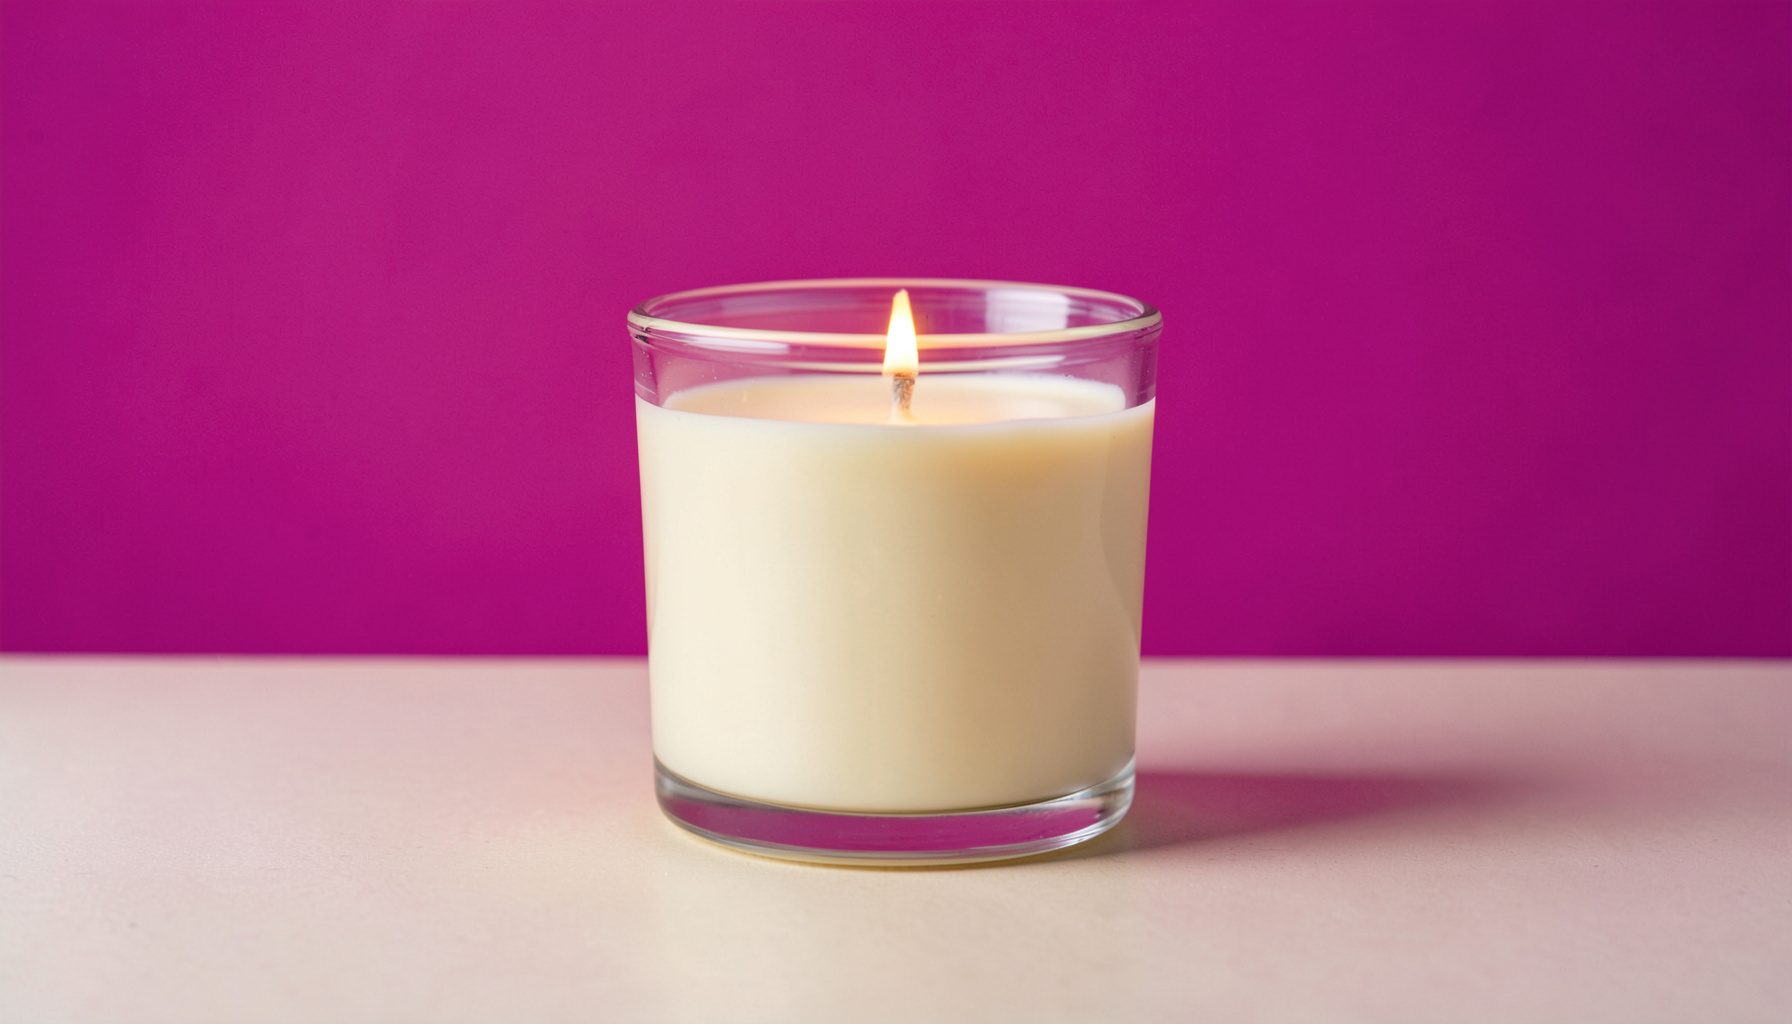
You might tell yourself — how much attention could one candle possibly need? You'll be surprised. A few simple steps will keep your soy candle burning beautifully and safely, from the very first light to the last.
First Burn Matters
When lighting your candle for the first time, keep it lit for 2–3 hours. You want the entire surface to melt evenly. If you don't, your candle could end up with a rim of solid wax that never melts — a common issue with soy wax.
Trim the Wick
Before each lighting, trim the wick to no longer than 0.25 inches (about 6 mm). A trimmed wick gives a cleaner, steadier flame and prevents soot or smoking.
Avoid Drafts
Always burn your candle in a draft-free area. Air currents can cause uneven burning, flickering, and excess smoke. Keep it away from open windows, fans, and high-traffic walkways.
Don't Over-Burn
Do not burn your candle for longer than the recommended time. As a guide, 3–4 hours per session is plenty. Over-burning can overheat the jar and affect the fragrance.
Keep It Clean
Keep the container clean and free of debris. Wipe away any soot marks with a dry cloth when the jar is cool. A clean candle burns more efficiently and looks its best.
Store With Care
Store your candle in a cool, dry place below 25°C. Excessive heat can cause the natural soy wax to soften or the essential oils to separate. Keep out of direct sunlight.
Remember: All The Flicker Light candles are hand-poured in small batches using 100% natural soy wax and high therapeutic grade essential oils. Natural variations in colour and appearance are part of their handmade character — and a little care goes a long way.
Proper candle care begins with that very first burn. When lighting a new candle for the first time, allow the melted wax to reach the edges of the container before extinguishing. This initial burn sets the memory of the candle and helps prevent tunneling, ensuring an even melt pool for every subsequent lighting. Patience during this first session rewards you with a candle that burns cleanly and fully, making the most of every precious drop of wax. A steady, attentive first burn is the foundation of a long-lasting candle experience.
The wick is the heart of any candle, and tending to it makes all the difference. Before each lighting, trim the wick to a modest length, removing any curled or burnt remnants from previous sessions. This simple act reduces excess smoke and keeps the flame steady and bright. A well-maintained wick also prevents the flame from growing too large, which can cause the glass to overheat or the wax to burn too quickly. Taking a moment to care for the wick is a small ritual that extends the life and beauty of your candle.
Where you place your candle matters as much as how you burn it. Keep it away from drafts, curtains, and areas of high traffic where the flame might flicker unevenly. A stable surface at a safe distance from anything flammable is essential for both safety and performance. The environment around the candle influences how evenly it burns and how its fragrance fills the space. A calm, undisturbed corner allows the candle to burn at its natural pace, releasing its aroma gradually and completely.
When the wax has melted down to the last half inch or so, it is time to let the candle go. Burning beyond this point risks overheating the container and damaging the surface beneath it. Rather than pushing for the final moments, consider repurposing the vessel once it has cooled completely. The remains of the wax can be removed gently, and the container can begin a new life as a small planter, a holder for trinkets, or a simple decorative piece. Ending a candle's life thoughtfully honours the care that went into making it.